Control Rig
If you wish to use Control Rig to drive your animations instead of the internal IK Solver, you can do so by following this guide.
Concept
We will be creating and using Virtual Bones that will be animated by Simple Procedural Walk. The transforms of these bones will then be fed into a Control Rig to drive your animations.
We're going to use the Dog character included in the demo for the purposes of this guide.
Add Virtual Bones
First, we need to create Virtual Bones for:
- All of the Tip Bones (the ones you use as feet).
- The Body Bone (if you need it).
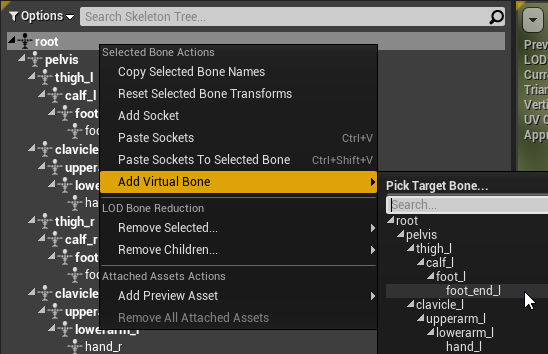
To do so, open your mesh Skeleton, right click on the root bone and select the Tip Bone (in this case, foot_l_end):
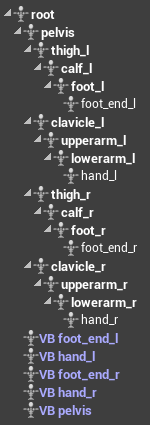
Repeat for all feet and body bone. In the end you'll have created all the feet + the body Virtual Bones:
Virtual Bones in Node Configuration
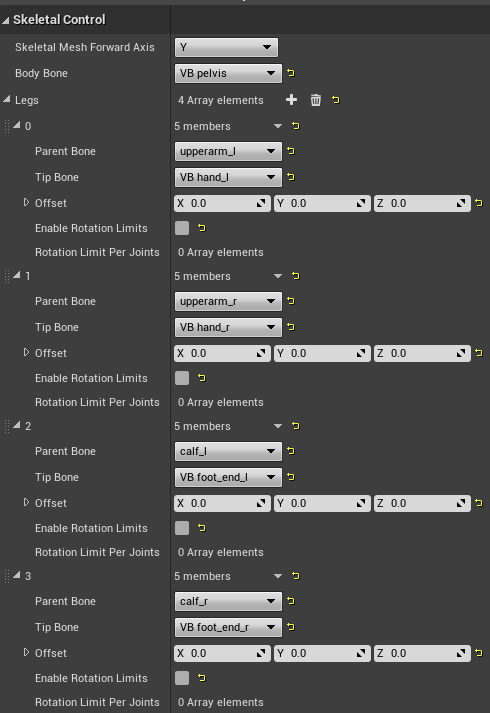
Proceed to set up your Simple Procedural Walk Node as you would normally do, but ensure that you use the newly created Virtual Bones instead (notice that VB nodes are used in the Body Bone and all the other Tip Bone settings):
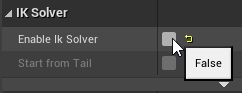
Finally, disable the IK Solver since we will be not driving our animations from the internal solver:
Control Rig
The Simple Procedural Walk node is now animating those Virtual Bones, so if you run it now you will not see any animation on your mesh. We need to transfer the transforms from these Virtual Bones to the Skeletal Bones that you want to move.
Let's create a Control Rig for yout character. First, enable the Control Rig plugin from your Plugins settings and restart if prompted to do so:
Then, right click on your mesh and select Create Control Rig:

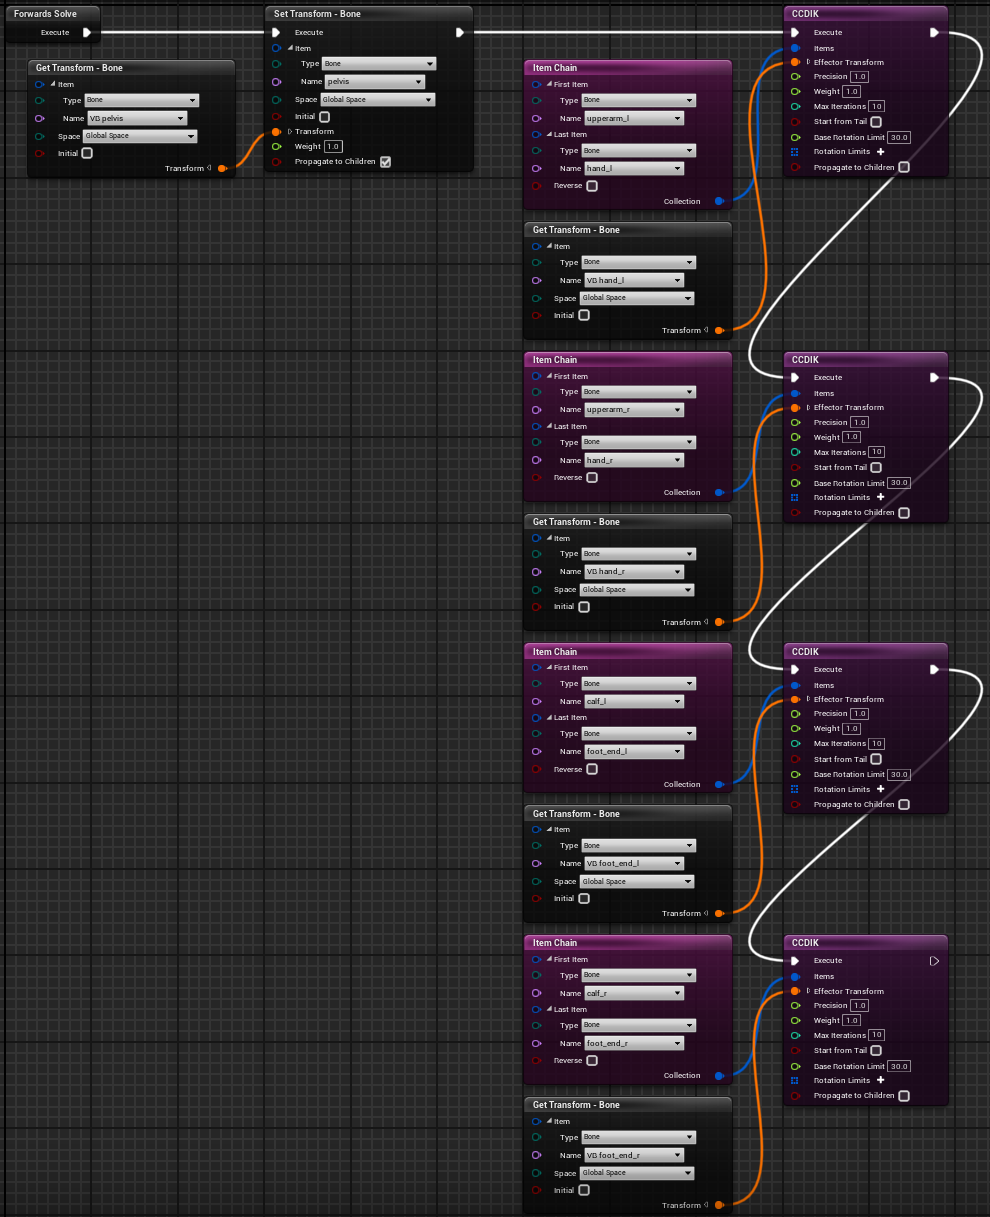
Now, setup your Control Rig Solver to support the movement you'd wish. In this example we're just adding CCDIK solvers for every leg, and a transform bone for the Body Bone.
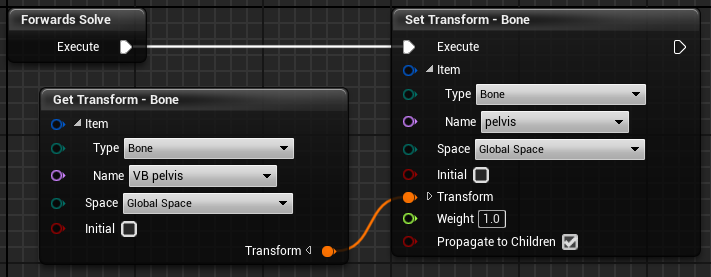
Start by adding the Body Bone (in the example, the pelvis) Set Transform (ensure that Propagate to Children is set).
Drag and Drop the VB pelvis Virtual Bone from the Rig Hierarchy Panel to the graph, and select Get Control.
Attach the two transform pins so that this is your end result:
Then, let's add a CCDIK node for the hand_l solver (ensure that Start from Tail is not set).
Create a new Item Chain from the upperarm_l to the hand_l bones, then
drag and Drop the VB hand_l Virtual Bone from the Rig Hierarchy Panel to the graph, and select Get Control.
Attach the two transform pins so that this is your end result:

Now do the same for the other legs. At the end, you should have a Control Rig solver similar to:
AnimBP Anim Graph
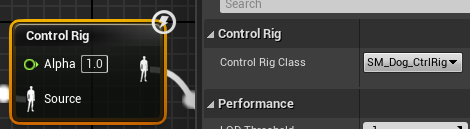
For the last step, move to the Anim Graph of your animation blueprint and add a Control Rig Node:
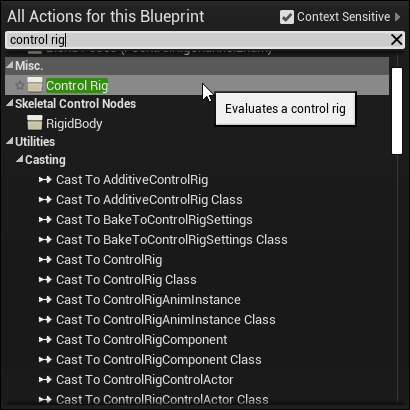
In the node setting, select the Control Rig you created:
Finalize your graph so that it looks like this:

Result
With everything setup, you can now see the animation driven from your Control Rig.